I wanted to say hello to all my faithful followers. I apologize for not posting in awhile. I have been extremely busy with publications and a personal dilemma. I have been traveling all over my state for medical test after medical test, surgeries and biopsies for over a month. I still have no results just more request for more testing. I hope to have the final news good or bad. I just want to know. By middle of July or I will pull my hair out. But I know that everything happens for a reason and I have faith that either outcome I will be ok. I am strong and I will fight it and survive another day and create another day. My claying and sharing what I love truly gets me through. So I know that I will fight and focus on new beginnings and new ventures in my life.
Giveaway Questions???
Please be on the watch in a few days for a giveaway that should have happened a few weeks ago. I thought it was ready but there were some changes and I had to re-do the giveaway several times. I should have it done by Monday and I'm excited to share all the goodies with you. Lots of great prizes by many wonderful artists and companies. I truly apologize for the delay. Some people backed out, some joined in and when you do a rafflecopter giveaway its hard to update it so many times so I keep having to start all over. I will get there I promise.
Something Fun and Free to Share...
In the meantime I thought I would post a free tutorial. I hope it inspires you to create and that you have an amazing weekend doing whatever it is that you love to do. I know creating calms me and I truly love creating, making tutorials and blogging. So my summer will be dedicated to those three things. Its time to put the sketchbook down and create the ideas that the book is filled with. So I hope to be sharing lots of new ideas with you this summer that hopefully sparks your creative side.
It is a message I have been trying to use to get through the last few months
" Be Happy".
Photo 1:
Materials: Bake and Bond by Sculpey
Texture sheet by Sculpey
5 in 1 tool by Sculpey (needle tool and dotter)
Flexible clay Blade
Acrylic Roller
Altiod Tin
Premo Clay 2oz Black
Premo Clay 2 oz Candy Pink
Premo Clay 2 oz White
Premo Clay 2 oz Cadium Yellow
Premo Clay 2 oz Transparent White
Premo Clay 2 oz Transparent Yellow
Sculpey III Clay 2 oz Lemonade
20 gauge black artistic wire
Premo Mini heart cutter
(optional 2 square acrylic rollers or 2 flat tiles)
♥Ƹ̵̡Ӝ̵Ʒ♥
Clay Mixture: Photo 2 top right
1/4 2oz pkg of Sculpey Lemonade and 1/4 2oz pkg of Premo Cadium Yellow Hue mixed well then (rolled on a 2 on Atlas pasta machine
1/4 2oz Transparent Yellow Premo and 1/4 oz transparent White Premo mixed well. Rolled into a log approximately 4 inches long 1 inch across the front.
♥Ƹ̵̡Ӝ̵Ʒ♥
Bottom photo:
Roll the darker colored layer of yellow clay around the transparent clay. Do not reduce. Just make sure that the clay is covered well without any seams showing. We will reduce as needed.
Photo 2 : Making the Honeycomb
Photo 1 upper left:
Correct all seams on the clay roll. If clay is needed add the darker color. If there is excess remove it you want the cane to be the same and the outside to be similar on all sides as we shape.
♥Ƹ̵̡Ӝ̵Ʒ♥
Photo 2 upper right:
Keep rolling until the clay is reduced to the size of your project.
♥Ƹ̵̡Ӝ̵Ʒ♥
Photo 3 Bottom left:
Once the cane is reduced then cut the cane into sections. I made several sections and set them aside for future projects. I only used one 3 inch section for this project.
♥Ƹ̵̡Ӝ̵Ʒ♥
Photo 4: Bottom Right:
Shaping your cane into a hexagon shaped honeycomb. I used a square acrylic rod. Sorry I forgot to take a photo of this. A hexagon has six sides so using a flat surface I pressed down slightly on one side. Moved it slightly did the same on another until I had slightly indented all 6 sides. Once I had a partial pattern and all sides looked even I then with the acrylic rod (or use two flat surfaces- for example two clean baking tiles. I pressed sides that were directly across from each other at the same time, then switched and pressed the next two sides diagonal from each other and then the final two sides. This worked really well. I did not press to hard as the clay inside is transparent and transparent is very easy to shape.
Once done with the shape of the hexagon I sliced one to see if it looked ok and it turned out perfectly. You can touch up each little hexagon as needed. You can have some large some small depending on how you want your honeycomb. I used the same size for mine.
Photo 3: Making your base.
Photo 1 left top:
When I use any metal I scratch the surface a lot. This seems to create a better bond for clay.
I then added some Bake and bond to the surface.
I cut an approximate piece of black premo clay to the shape of the top of the lid.
I laid the clay on the altoid tin, Covered it to make sure there were no air bubbles.
Rolled the clay on the top of the tin with an acrylic roller.
♥Ƹ̵̡Ӝ̵Ʒ♥
Photo 2 Top Right
Example of the covered tin and the texture sheet by sculpey
♥Ƹ̵̡Ӝ̵Ʒ♥
Photo 3 Bottom Left
Press the texture sheet firmly on the black clay and roll with an acrylic roller on top and sides.
If there are any air bubbles lightly slice a hole with the blade and get the air bubble out. This seems to work best.
♥Ƹ̵̡Ӝ̵Ʒ♥
Photo 4 Bottom Right
Clay covered altoid tin
Photo 4
Photo 1 top Left,
Cut up your hexagons and start placing them on your tin in a honeycomb shape.
♥Ƹ̵̡Ӝ̵Ʒ♥
Photo 2 Bottom Left
The hexagons fit together nicely if you put them flat area to flat area. I made mine into a heart like shape.
♥Ƹ̵̡Ӝ̵Ʒ♥
Photo 3 Bottom Right
Using the sculpey letter mold. I molded the letters Bee Happy. I pressed the clay in the mold then with the clay blade sliced off the excess clay while in the mold so that they are perfectly shaped.
♥Ƹ̵̡Ӝ̵Ʒ♥
Photo 4 Top Right
Added the words Bee Happy.
With the 5 in 1 dotter tool end I put little dots in the letters for extra accents.
Photo 5
Lets make some Bee's
Photo 1 top
Lots of stuff going on here. Basically a big view of each step I will explain below.
♥Ƹ̵̡Ӝ̵Ʒ♥
Photo 2 bottom left & Photo 3 Bottom Right
1st bee that lays down on the base of tin...Instructions
With your extra darker yellow mixture, Roll out some thin snakes and twist them. You will need three snake shapes for each bumble bee. A round head about the size of a 14mm bead. A Black premo clay body shaped into a chubby teardrop. Two small Black balls approx. 6mm in size and one 4 mm in size for the antennas. Then I cut the wings from white clay and made two hearts for wings. Two black balls approx. 4mm for eyes.
First with your dotter tool put dots on both sides of the heart all around the edges for little accents or you could use crystals or for spark of color yellow or black. I just dotted mine with the ball tool from the 5 in 1 tool. Lay the wings down touching slightly at the bottom of the heart.
Lets make the face. I found these great tools at Hobby lobby in the area of tools for leather work they are shaped like circles and half circles. Work great for tiny mouths and accents on clay. That is how I made the smiley face on the bee. Make a mouth, use the dot tool for two eyes. Add two black clay 4mm balls of clay in the dots where you placed the eyes. Then add the antennae, I put he small ball and flattened it some like a oval. Then added the larger ball and left it as round as possible. You can add a pin in there if you want to but mine stayed secure without any wire.
Bee body. I wrapped the black tear drop with the smallest of the yellow snakes and trimmed it in the back, making sure it connects but does not overlap. Then the larger snake around the middle, smaller one around the bottom. Three yellow stripes on the body. All connected around the back. Then I connected the body to the head.
After the body is added to the head I laid it on the two white heart wings.
I love pink and flowers so a I added 6 tiny little premo hot pink balls to the chest of the bee and then a yellow center. I put a few dots in the center of the flower center and a couple lines in the pink petals for accents. Nothing fancy just enough for some cute color.
♥Ƹ̵̡Ӝ̵Ʒ♥
Second Flying Bee.
Only difference in this bee is how I made the body. In the top photo you see a twisted black wire 20 gauge black artistic wire. I made a long straight wire with a tiny little hook at the end. Then about 2 inches and just coiled the wire around my needle tool. You can make the coils as tight or loose as you want. As you will see in the finished photo I had tight coils but stretched them after baking so that he would be on a spring and look like he is flying. The reason for adding a rounded curve at the end of the wire is to make sure that the wire does not come out of the bees body once baked. I inserted the black wire into the black teardrop of the bee at the long end and the second end into the honeycomb house I made. Both have a curved end to secure them to their armatures so that they can move but do not come out.
Photo 6
Lets make a honey bee house.
Photo 2 Bottom Left
With the excess darker clay I made three rounded edged rectangles. Each one size smaller than the other. They are no bigger than an inch. largest is an inch long, widest point is 1/2 inch and the other two on top are scaled down. I stacked these three on top of each other.
♥Ƹ̵̡Ӝ̵Ʒ♥
Photo 3 Bottom Right
To make a door, I cut an half oval black door with my bendable blade and a flat bottom to the door. Then went around the whole door with black with the dotter tool to add accent. Then I sculpted another matching flower like on the bees on the door of the honey bee house.
Photo 7
Once the house was finished I placed it on the base of the tin where I wanted it. I then added the wire into the top of the house and covered the hole with extra clay so that it secured nicely. *** ( I made a boo boo) I forgot to look at which side of the tin opened so when I made this my tin opens backwards UGH.. But hey its for me and its cute and I use it on my clay table for buttons that I keep for texture.
I laid the second bee on the honeycomb heart where I could see him well and he was all set. Since I had not baked anything yet he will bake to the base perfectly without any other products.
Bottom photos I added a pink flower with my extra pink and yellow for a pop of color.
Baked the whole project in the oven at 250 for 40 minutes. I did check the bee on the wire half way through to make sure that it was staying straight up. Once the base of the house set up and started baking it stood up perfectly straight as I hoped it would. You could prop the bee up with something if you were worried. But it was really light and worked well. I removed it from the oven right away and put it under cold running water. This is something I do with all transparent clay. It seems to turn out so much better that way and is way more transparent and clear.
So that's it, my little honey bees and a Bee Happy Tin. It was a simple beginner fun project and I enjoyed making it for my desk to keep my small collection of texture buttons in it. Which is getting full so I need to make another one with something else.
If you have any questions please ask. If there was a step you did not understand and would like more photos I will be happy to show you how I did a step. I am always around and enjoy creating and teaching.

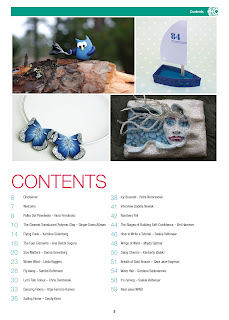
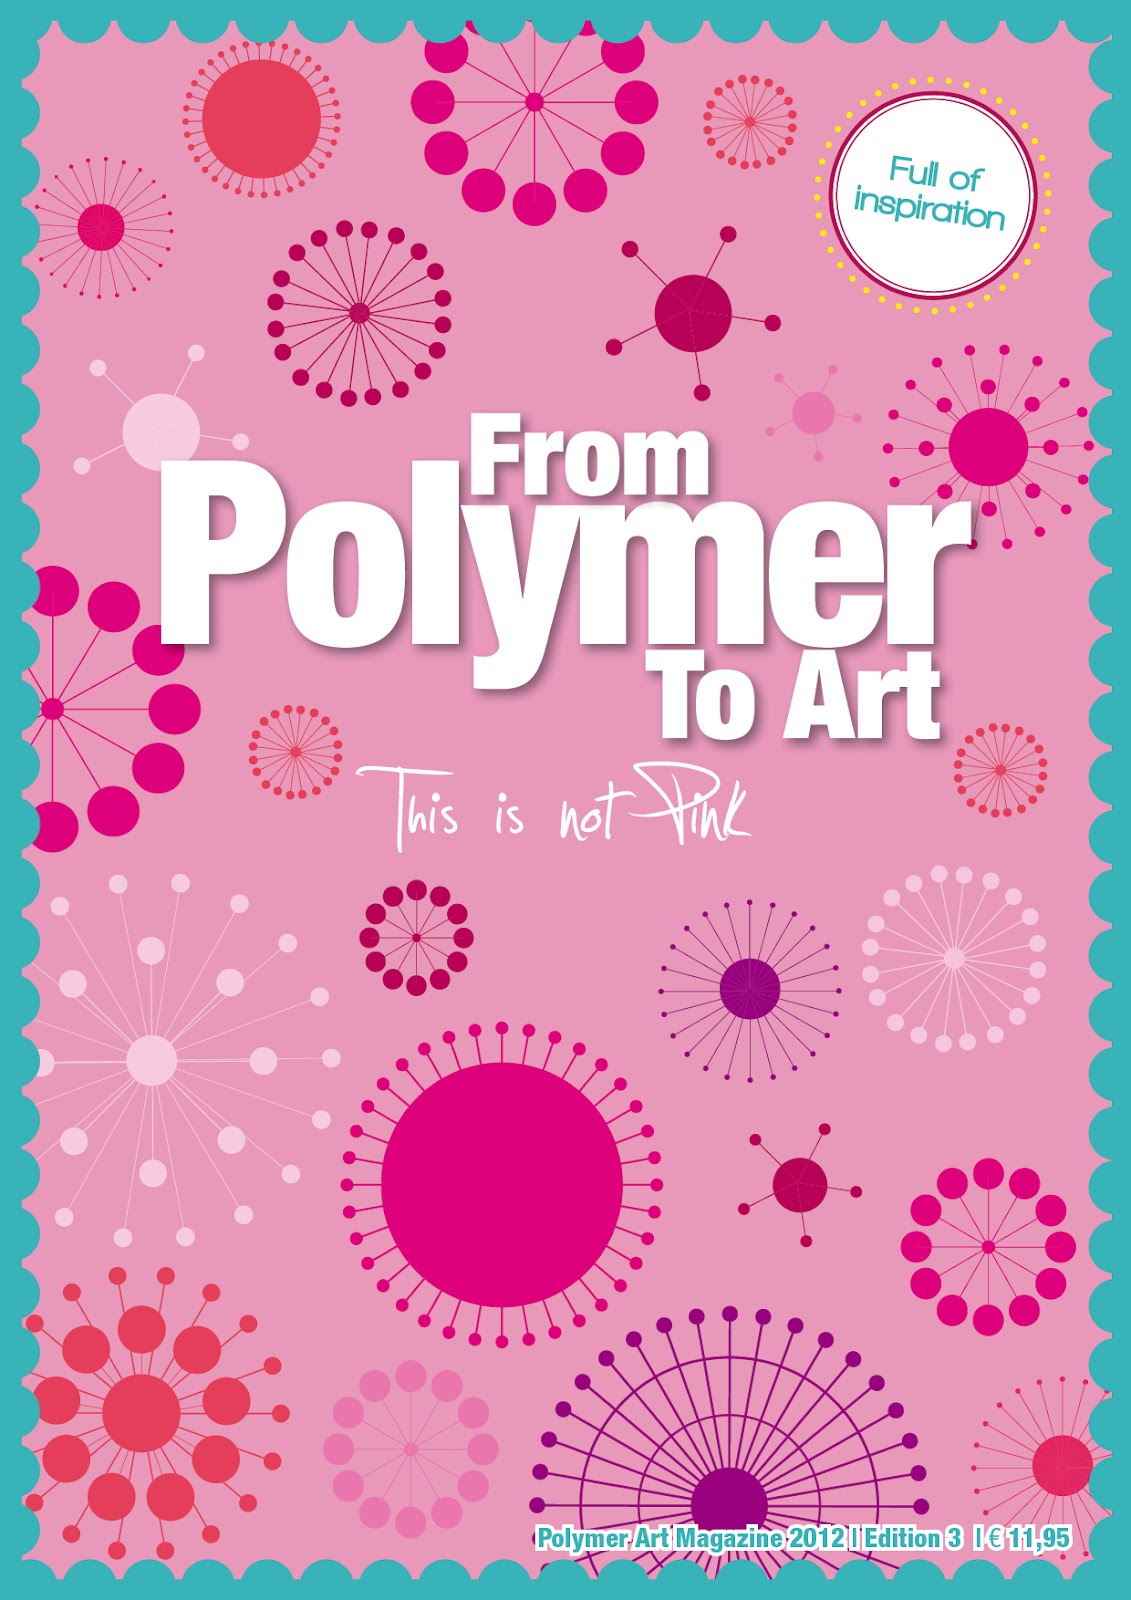
As always thank you for your support and comments I really appreciate hearing from my followers. If I can every help in any way contact me. I love to clay and love to get others to enjoy claying even more. I will be posting several new tutorials soon. I have 5 more ready to go. Just need to update the finished wording and take a few more photos. I will try to load one a week through the summer months to keep some ideas out there for beginners to intermediate. I am not an advanced clay artist. Most of my more advanced work I publish in magazines. I have three more publications coming up. One in Polymer Café` and two more in From Polymer to Art in Earth and Fire. I so excited about those projects and I am working hard on them. I hope you get you get to see them. I will share when they are ready to be published. I was asked by Polyform Products to start guest blogging for them so that is something exciting I will be doing soon so watch for me there. www.sculpey.com Polyform Products is such and amazing company, fun, friendly people and very generous. I will be having a giveaway of some of their products soon. So watch for that giveaway :).. Who doesn't love free goodies.
As always, Thank you for supporting me and Handmade.
I leave you with one thought, Be Happy for what you have because everyday is short and you never know what tomorrow brings. So put all you have into everything you do. Love, Laugh and Smile often. Always tell those you love how much you love them. Don't wait until the right time. The right time is now. Blessings to all.
Create With Heart, Love, Color and Bling


.JPG)
.JPG)